
🔖 For: Creator Plan & Digital Academy Plan.
When you log into the system, the first screen you see is the Dashboard. For Solo Creators, think of this as your digital workspace—where you control your store, nurture customers, and run your 24/7 automated money-making machine.
You don't need to learn 100% of the technical features. This guide will help you open exactly the right "drawers" to run your business smoothly.
Step 1: Log in to the system
Open your web browser, type your domain name, and add /admin at the end, Specific example: your-domain.com/admin
On the login screen, you have two quick ways to enter:
Enter Username and Password: On the display screen, enter the Username and Password you set up or were provided.
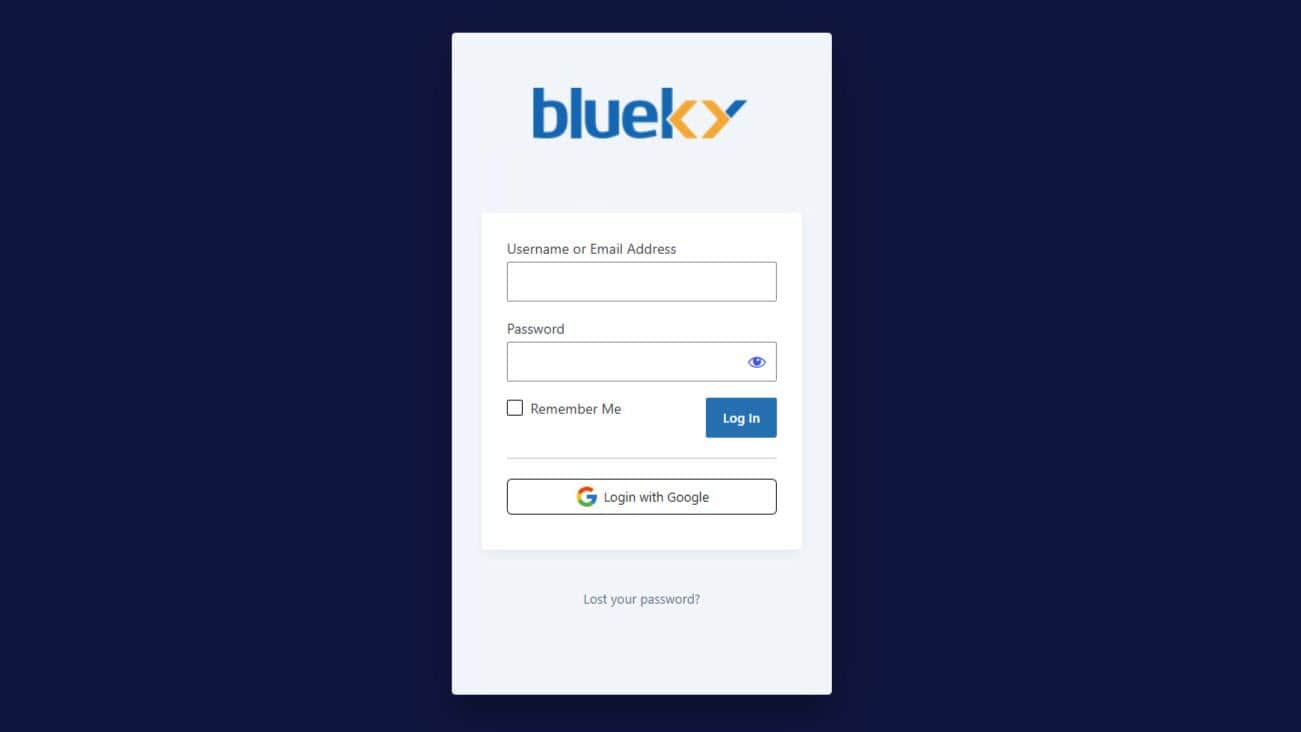
Log in with Google: Click this button to use your Gmail account to open the door instantly without remembering another password.
Step 2: Master the core tools
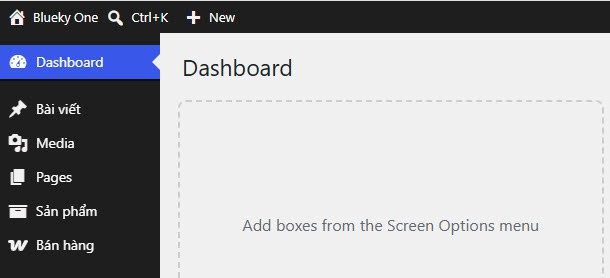
Once inside, look at the dark sidebar on the left. This is your tool drawer. To make money and save time, you only need to focus on these 3 main areas:
Content management
This is where you directly create digital assets to attract potential customers. Pages are used to design sales Landing Pages, personal introduction pages, or lead magnet pages to collect emails.
Meanwhile, Posts are where you share your weekly blog knowledge. Or, you use them to archive your Newsletter to nurture trust with your students.
Media library
Think of this as the "warehouse" containing all your visual resources. You will upload expert portraits and article illustrations here.
Most importantly, this is where you store screenshots of successful student bank transfers to use as social proof for closing sales.
Store management
This is the "safe" and the cash flow control center for your solo business. The Products section is where you list your course packages, E-books, or Membership programs at various price points.
The Orders section displays the list of purchasing customers. Every time a customer pays successfully, their information automatically pours in here for you to track.
Step 3: Use the quick toolbar
At the very top edge of the screen, there is always a dark horizontal bar. This is your shortcut menu to work lightning-fast from anywhere in your workspace:
Add new items
Simply hover over the + New button, and you can quickly add a new post, upload an image, or add a new product with just one click. You don't have to wade through complicated folders.
View live site
A common mistake web builders make is getting caught up in backend editing without knowing what the customer sees on the outside.
In the top-left corner of the black toolbar, you will see Home icon and your website name. Click directly on that website name.

The system will take you to the front end to inspect the actual layout and active buttons.
Return to dashboard
While viewing the live front end, the black admin toolbar remains visible at the top. Simply click on your website name in the top-left corner once again.

🎯 Next step: Once you understand how to navigate the dashboard, the first thing you need to do is lay the foundation for your website. Check out the guide: Configure general website settings.